top of page
Request a Quote
Home
Virtual Showrooms
GNWD Virtual Showroom
Marvin Virtual Showroom
About Us
Windows
Doors
Our Suppliers
Marvin
Weather Shield
Strassburger
MasterGrain
Entryguard
Videos
Installation
Projects
Blog
Contact
More
Use tab to navigate through the menu items.
All Videos
All Categories
Play Video
Play Video
06:09
7 Must Have Measurements For MARVIN Insert Windows
Play Video
Play Video
03:04
Getting the Height Right For MARVIN Insert Windows
Play Video
Play Video
05:54
What's Your Angle For MARVIN Insert Windows
Play Video
Play Video
05:23
Aluminum Mull Reinforcement - Marvin
Marvin Aluminum Mull Reinforcement (MRF) instructions. Please read the written instructions thoroughly before field mulling any Marvin window or door. https://www.marvin.com/download?Pub_ID=4131
Play Video
Play Video
03:50
Standard Mulling Instructions - Marvin
Marvin Standard Mulling Instructions. Be sure to read the written instructions thoroughly before field mulling any Marvin window or door. https://www.marvin.com/download?Pub_ID=4131
Play Video
Play Video
00:55
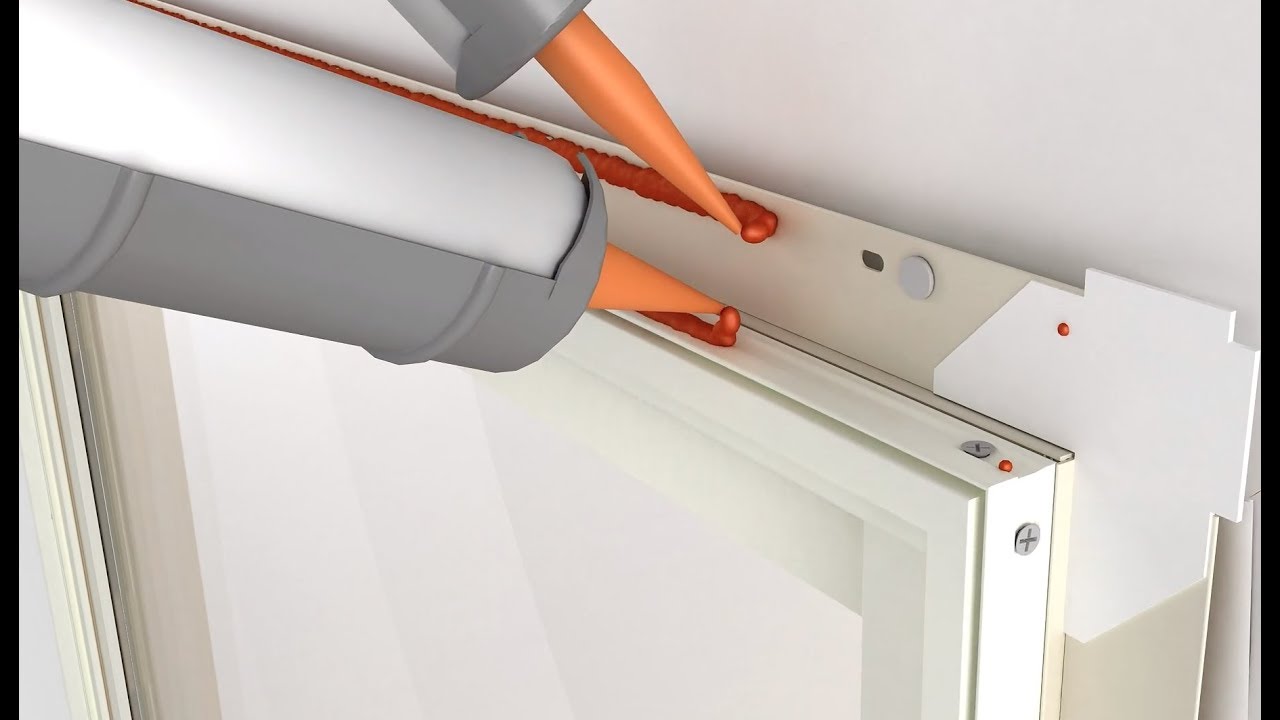
9 Steps to Installing a Rigid Head Flash On a Window
Step 1: If the window you are installing has a flexible drip edge, remove it with a utility knife. Step 2: Apply sealant on the wall, the top of the window frame and at each ends of the rigid head flashing (RHF). Step 3: Fasten the RHF to the wall. Step 4: Install self-adhering window flashing tape over the nailing fins. Roll at least ¼-in. of the tape onto the side of the window frames. Step 5: Make notches in the flashing tape at the RHF and fold the flaps over onto the top of the RHF. Step 6: Install self-adhering window flashing tape over the top of the RHF. Roll at least ¼-in. of the tape onto the horizontal section of the RHF. Step 7: Make notches in the flashing tape at the ends of the RHF and fold the flaps down over onto the sides of the window. Step 8: Add sealant to the exposed ends of the RHF. Step 9: Tool the sealant. #TheMarvinBrand #fenestrationnation #windows #doors #marvin
Play Video
Play Video
00:58
Adjusting and Removing the Standard Sliding Screen
How to adjust and remove the Marvin® Standard Sliding Screen.
Play Video
Play Video
00:54
How to Remove a Screen on Marvin® Windows
How to remove a screen from a general Marvin® window.
Play Video
Play Video
01:57
How to Measure Your Windows and Doors for Replacement
All you need to start the process of getting a quote for your window and door replacement process is a tape measure, a helper and our handy tracking form. Find out more about measuring your windows and doors for replacement and download our measurement tracking form here: https://blog.marvin.com/2020/04/25/how-to-measure-your-windows-and-doors-for-replacement/ Learn more about window replacement with Marvin: https://www.marvin.com/replacement #TheMarvinBrand #fenestrationnation #windows #doors #marvin
Load More
bottom of page